What is robots.txt file ? How to add into your Next.js app ?
Making sure your website is optimized for search engines is essential for both performance and visibility. Using a `robots.txt` file is one technique to control how search engines interact with your website. In Next, we will explore the meaning of a `robots.txt` file and how to create into your next.js app.
What is a robots.txt File?
A text file called `robots.txt` can be found in the root directory of your website. It tells web crawlers (robots) what portions of your website should and shouldn't be indexed and scanned. You can optimise and manage how search engines such as Google interact with your website with the use of this file.
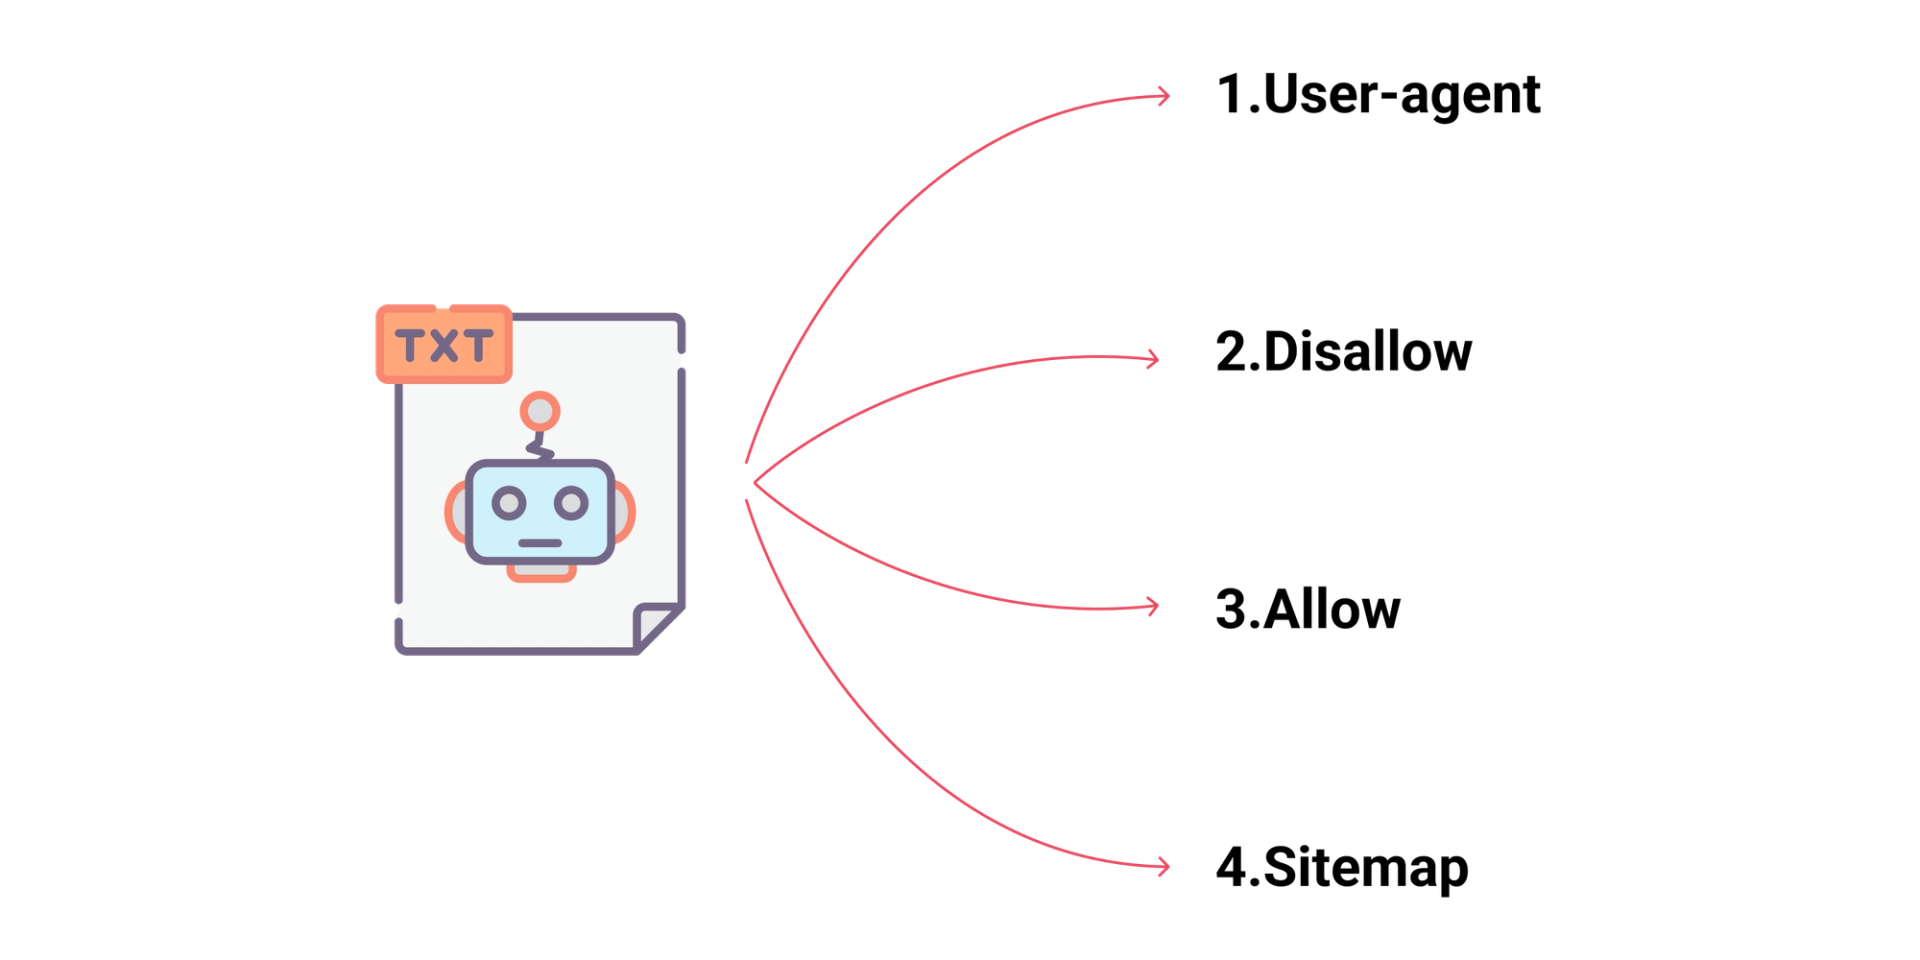
Key Components of a robots.txt File


- User-agent: Specifies the web crawler the rules apply to (e.g., `User-agent: *` applies to all crawlers).
- Disallow: Blocks access to specific pages or directories.
- Allow: Permits access to specific pages or directories, useful when nested in disallowed directories.
- Sitemap: Provides the URL of your sitemap, helping crawlers index your site more effectively.
Creating a robots.txt File in Next.js 14
Creating a `robots.txt` file in Next.js 14 is simple. Follow these steps:
Step 1: Create the robots.txt File
First, under the `public` directory of your Next.js project, create a file called `robots.txt`. Static files that Next.js will serve directly go in this directory.
1
2
3
- your-nextjs-project/
     - public/
     - robots.txt
Step 2: Add Rules to the robots.txt File
Open the `robots.txt` file and add your rules. For example:
- User-agent: *
- Disallow: /private/
- Allow: /public/
- Sitemap: https://www.yourwebsite.com/sitemap.xml
In this example:
- All crawlers are blocked from the `/private/` directory.
- The `/public/` directory is allowed.
- The sitemap location is specified.
Step 3: Deploy Your Next.js Project
As normal, deploy your Next.js app. The `public` directory's `robots.txt` file will be accessible at the root of your website, such as `https://www.yourwebsite.com/robots.txt}.
Step 4: Verify the robots.txt File
Check if the robots.txt file is correctly configured and available by going to https://www.yourwebsite.com/robots.txt after deployment. In order to test your `robots.txt` file, use tools such as Google Search Console.
Conclusion
Controlling how search engines interact with your website requires a `robots.txt` file. You may optimize your website's performance in search engine results by controlling the visibility of its content with a well-structured `robots.txt` file in your Next.js 14 project. A `robots.txt` file is a useful addition to your web development arsenal because it is easy to set up and has a big impact on your SEO strategy.
