
How to install Next.js ? A complete guide for beginners
Next.js, a powerful React framework, simplifies the design of modern scalable web applications. In this guide we will walk through the steps to install Next.js using the official documentation and discuss additional concepts for complex development environments. Next.js is based on react, webpack, and babel. It is an awesome tool for developing web applications and is known for its server-side rendering.You must install Node.js before you can install Next.js. Verify that npm and Node.js are installed on your computer. If not, get Node.js. from the official website and install it.
Prerequisite
You must install Node.js before you can install Next.js. Verify that npm and Node.js are installed on your computer. If not, get Node.js. from the official website and install it.
Verify that Node is up to date on your machine. Run the below command in your terminal to verify, then compare the result with the most recent LTS version found at https://nodejs.org/
node -v
Once you install Node.js, the npm command will appear in your command line.
Now that you have Node updated to the latest version and npm, create an empty folder anywhere you want, for example in your home folder, and go to:
mkdir nextjs
cd nextjs
and create your first Next project.
There are two methods available for installing next.js Automatically or Manually. Next.js’s official website recommends using automatic installation, which sets up everything automatically for you.
Automatic Installation
For automatic installation, launch your terminal and execute the subsequent command,
npx create-next-app my-nextjs-app
If you'd rather use “yarn”, use Next.js to make a new application.
yarn create next-app my-nextjs-app
Now, Navigate to the Project Directory by executing below mentioned command,
cd my-nextjs-app
Use the below command to launch the development server:
npm run dev
Your next.js app is successfully running on http://localhost:3000/
Manual Installation
To install manually, open a terminal window and type the following command,
npm install next@latest react@latest react-dom@latest
After opening your package.json file, add the scripts listed below:
These scripts refer to the many phases involved in creating an application:
For advanced setups, features, and best practices, check out the official Next.js documentation at Next.js.
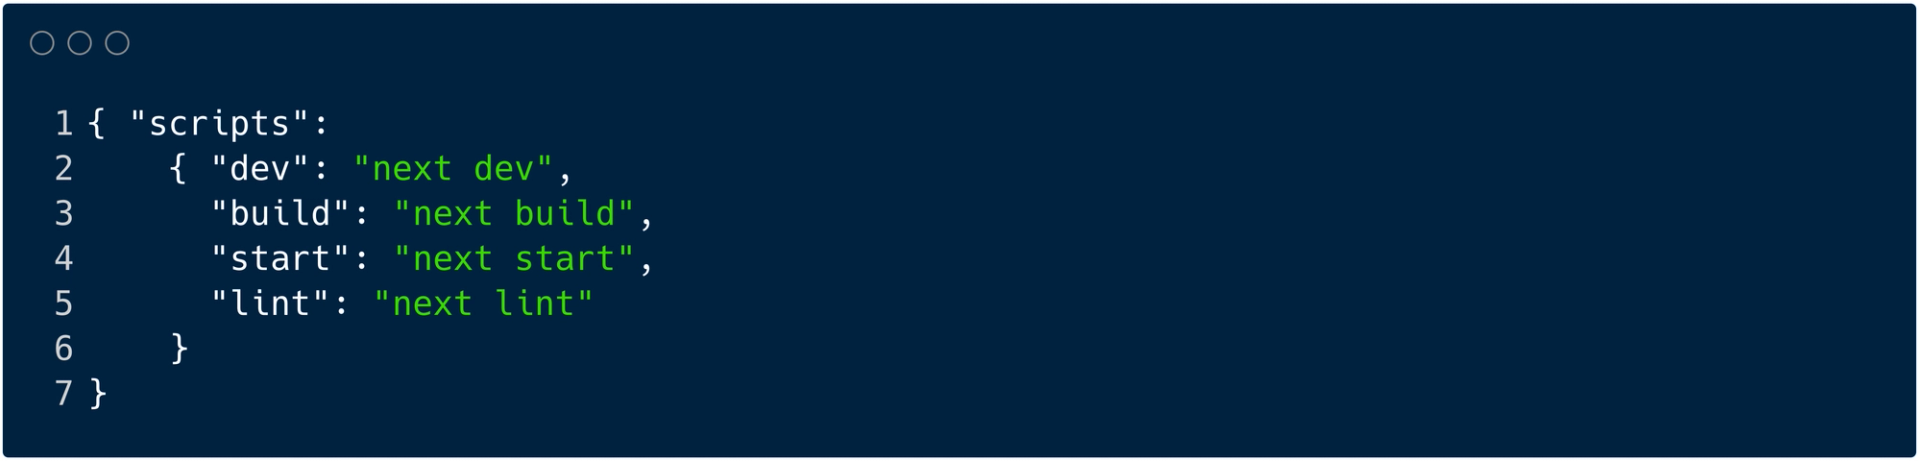
- dev: It runs “next dev” To launch Next.js in development mode.
- build: It runs the “next build” to build the application for production usage.
- start: It runs “next start” to start a Next.js production server.
- lint: It runs “next lint” to set up Next.js' built-in ESLint configuration.
Since file-system routing is used by Next.js, the routes in your application are dictated by the way your files are organized.
Next.js advises utilizing the App Router while developing new applications. This router is an update of the Pages Router based on community feedback, enabling you to exploit the latest capabilities of React.
Layout.tsx and Page.tsx files should be added after creating the app/ subdirectory. When a user hits the application's root (/), these will be presented.
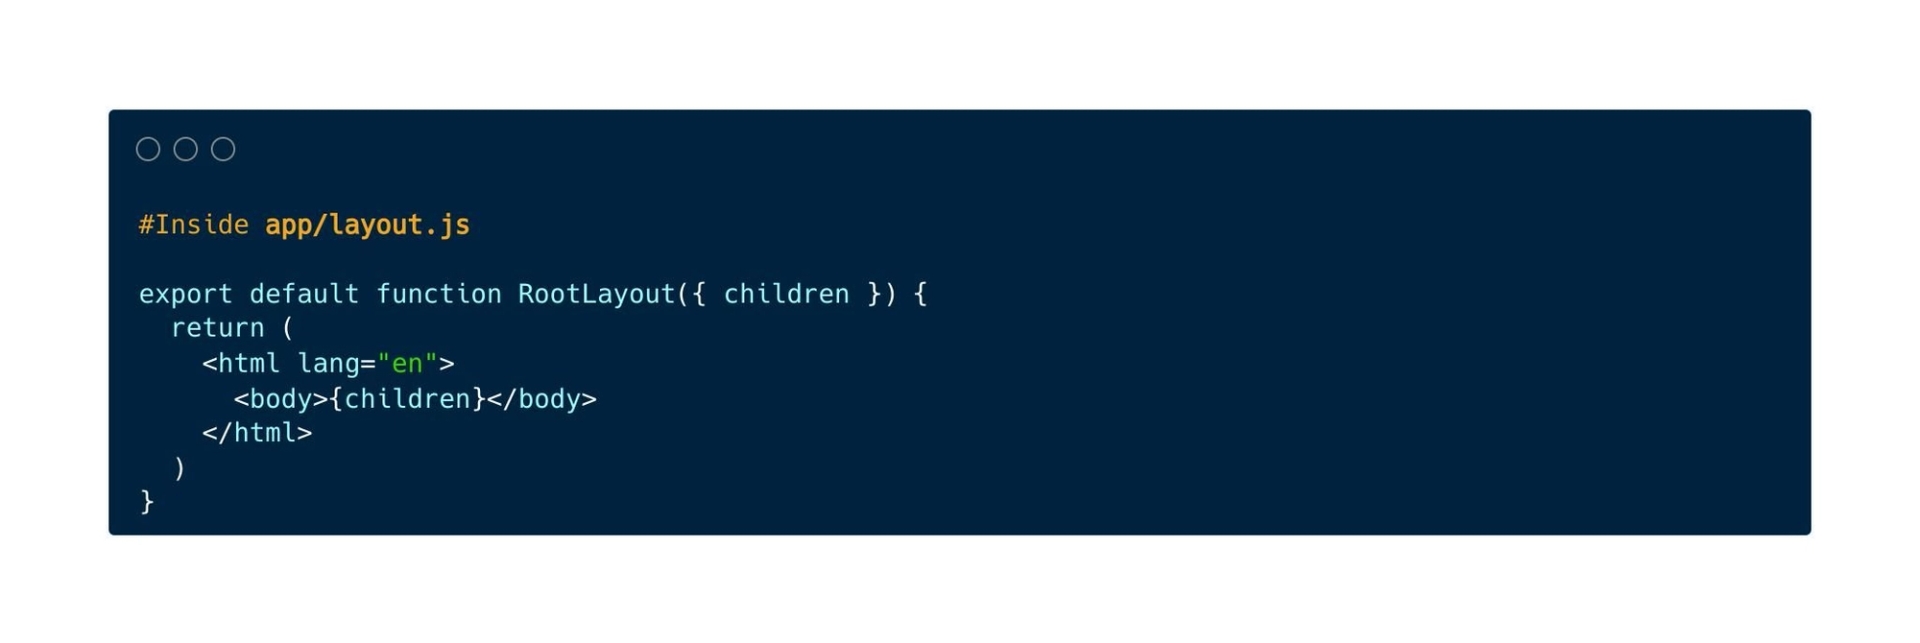
Inside app/layout.tsx, create a root layout and add the necessary <html> and <body> tags:
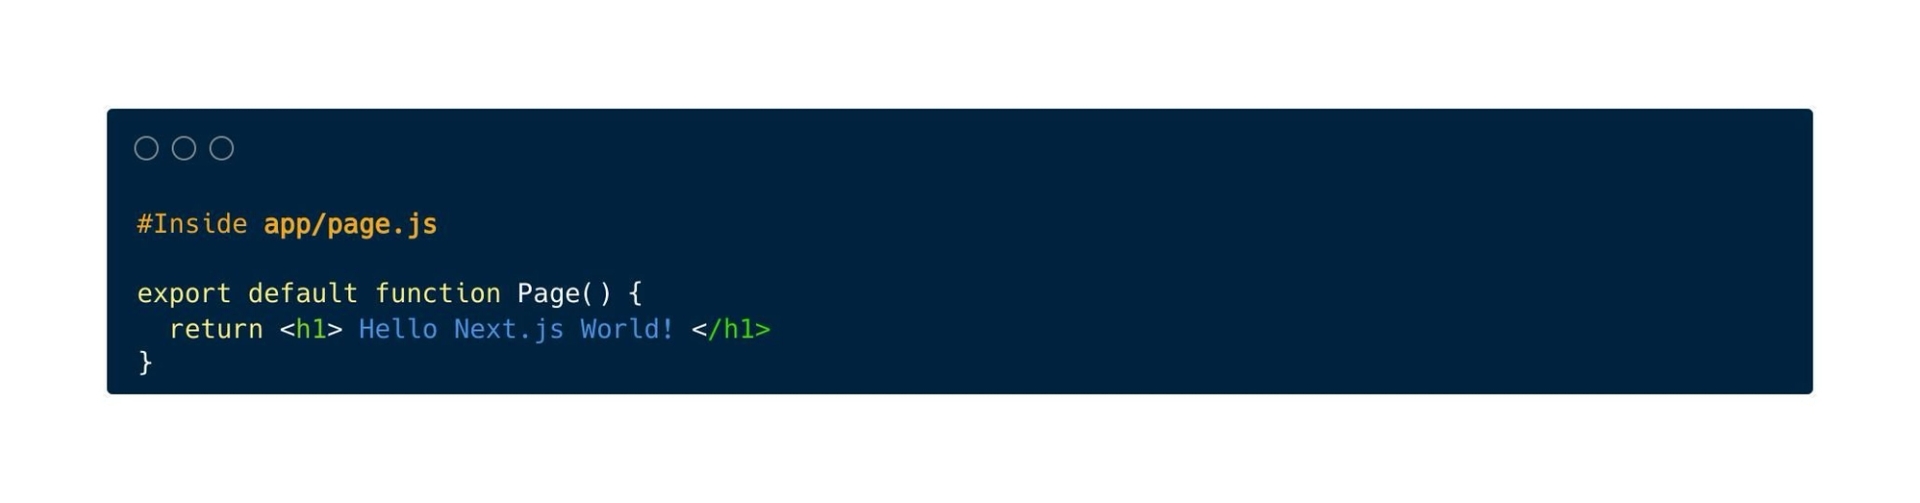
Lastly, add some preliminary content to the home page app/page.tsx:
You can learn more about “App Router” by visiting their official website, App Router.
You can make a pages/ directory at the root of your project if you'd rather use the Pages Router rather than the App Router.
After that, include an index.tsx file in the pages folder. This is going to be your main page (/):
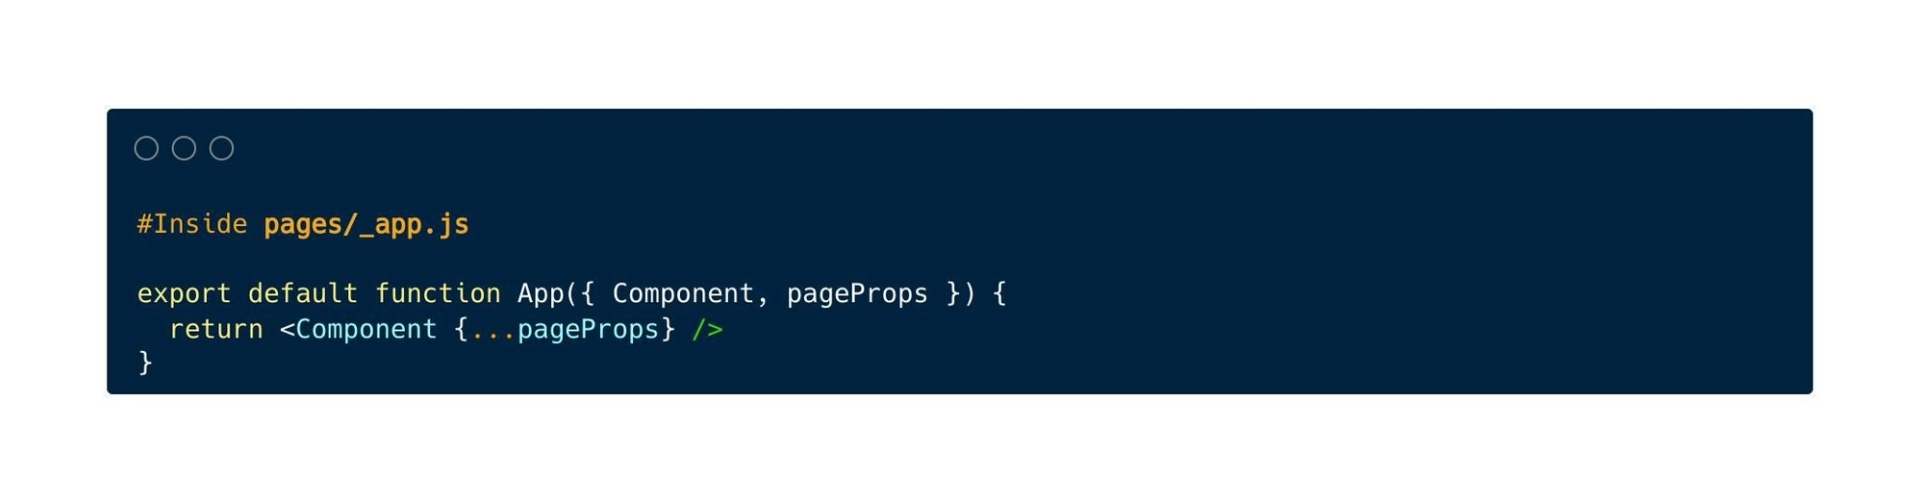
To establish the global layout, add a _app.tsx file inside of pages/ next. You can learn more about custom app files by visiting their official link: Custom App.
Lastly, include a _document.tsx file inside pages/ to manage the server's initial response. Find out more about Document file customization.
You can learn more about Page Router by referring to its official link: Page Router
To store static materials like fonts and photos, create a public folder. Your code can then reference files located within the public directory by beginning with the base URL (/).
Start the development server by running,
npm run dev
To view the revised result in your browser, edit the app/page.tsx (or pages/index.tsx) file and save it.
Advanced setups are possible using Next.js. For instance, the following can be used to enable TypeScript support.
npx create-next-app my-nextjs-app --example with-typescript