
How to Use Ant Design with Next.js: A Complete Guide
One of the things each web developer should see is how easy it may be to create user experience as well as visual appeal. Two very powerful tools to assist in this regard are Next.js and Ant Design.
In this post, we'll outline the key advantages and limitations in their combination with suggestions on how best to build applications with them.
What is Next.js?
Next.js is a React framework that allows developers to create server-rendered as well as statically generated web applications. This makes it easier to develop with speed and also SEO improvements.
Advantages of Using Next.js with Ant Design (Antd)

- Server-Side Rendering (SSR) Support: Next.js allows for SSR, which can improve the performance and SEO of your application. Ant Design components can be rendered server-side, ensuring that users see content faster.
- Rich UI Components: Ant Design provides a comprehensive set of pre-designed, customizable components that can speed up the development process. This can lead to a more polished UI with less effort.
- Theming and Customization: Ant Design offers powerful theming capabilities, allowing you to easily customize the look and feel of your application to match your branding.
- Responsive Design: Ant Design components are designed to be responsive out of the box, which simplifies creating applications that look good on all devices.
- Comprehensive Documentation: Both Next.js and Ant Design have extensive documentation and community support, making it easier to find solutions to common issues and learn best practices.
- Easy Integration with TypeScript: If you're using TypeScript, both Next.js and Ant Design provide type definitions that enhance developer experience and ensure type safety.
Limitations of Using Next.js with Ant Design (Antd)
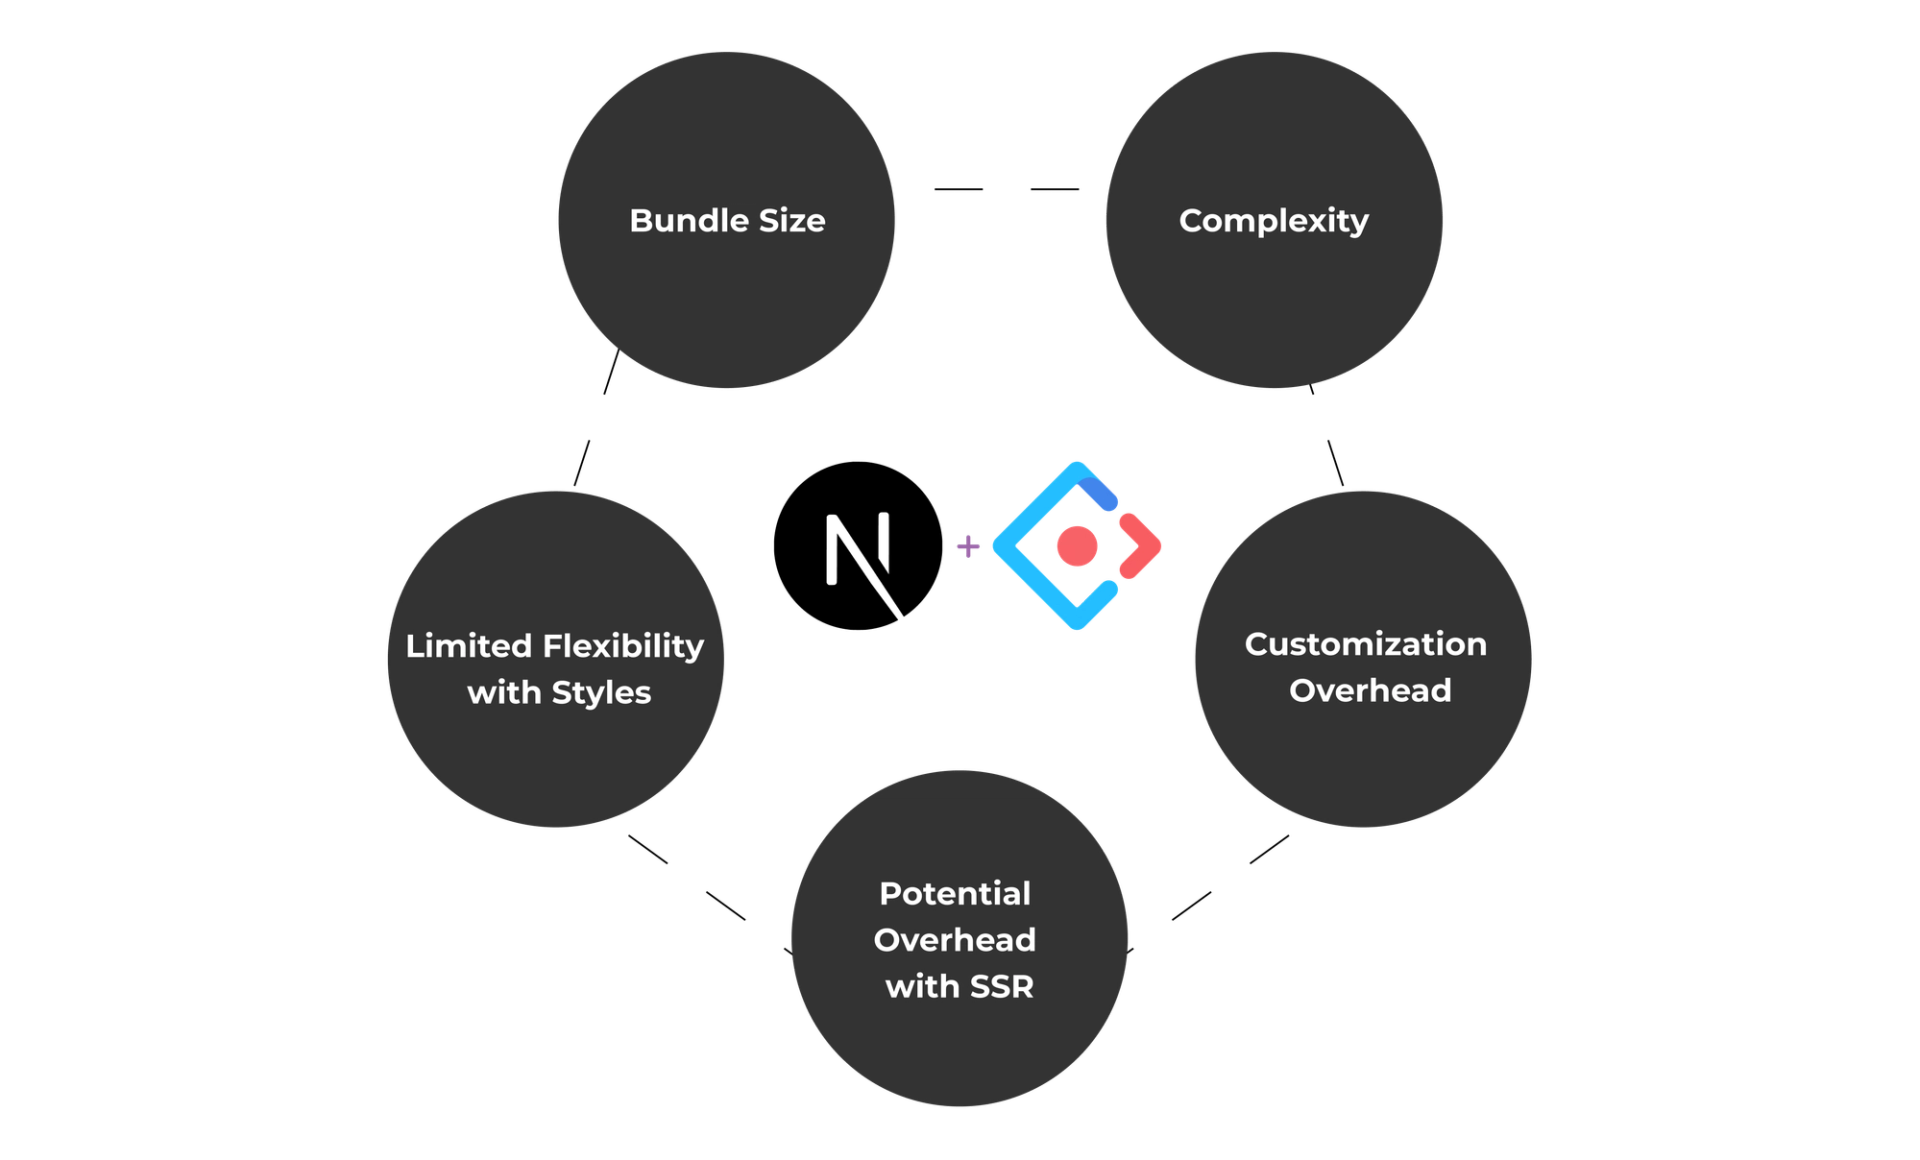
- Bundle Size: Ant Design can increase the bundle size of your application, which may lead to longer loading times if not optimized properly. It's essential to consider tree-shaking and only import the components you need.
- Complexity: Using two robust frameworks can introduce complexity, particularly for developers who are not familiar with either Next.js or Ant Design. It may have a steeper learning curve for new developers.
- Customization Overhead: While Ant Design provides out-of-the-box styling, heavy customization may require significant effort and an understanding of the underlying CSS or less/SASS configurations.
- Potential Overhead with SSR: Although SSR is an advantage, it can also add complexity in managing the state and data fetching for Ant Design components, especially if you need to implement more complex data interactions.
- Limited Flexibility with Styles: Ant Design's predefined styles may not fit every use case, which can sometimes limit flexibility in achieving a unique design.
What is Ant Design (Antd)?
Ant Design is a full design system and React UI library that provides good quality components to construct user interfaces.
It is poped up as one of the most popular UI libraries mainly for enterprise-level applications.
Advantages of Ant Design (Antd)

1. Rich Component Library: It offers a wide range of components to speed up development.
2. Consistent Design Language: It ensures a cohesive look and feel across your application.
3. Customizable Themes: Easily customize styles to fit your brand.
4. Internationalization & Strong Community: Built-in support for multiple languages.As well as a large user base means plenty of resources and support.
Limitations of Ant Design (Antd)
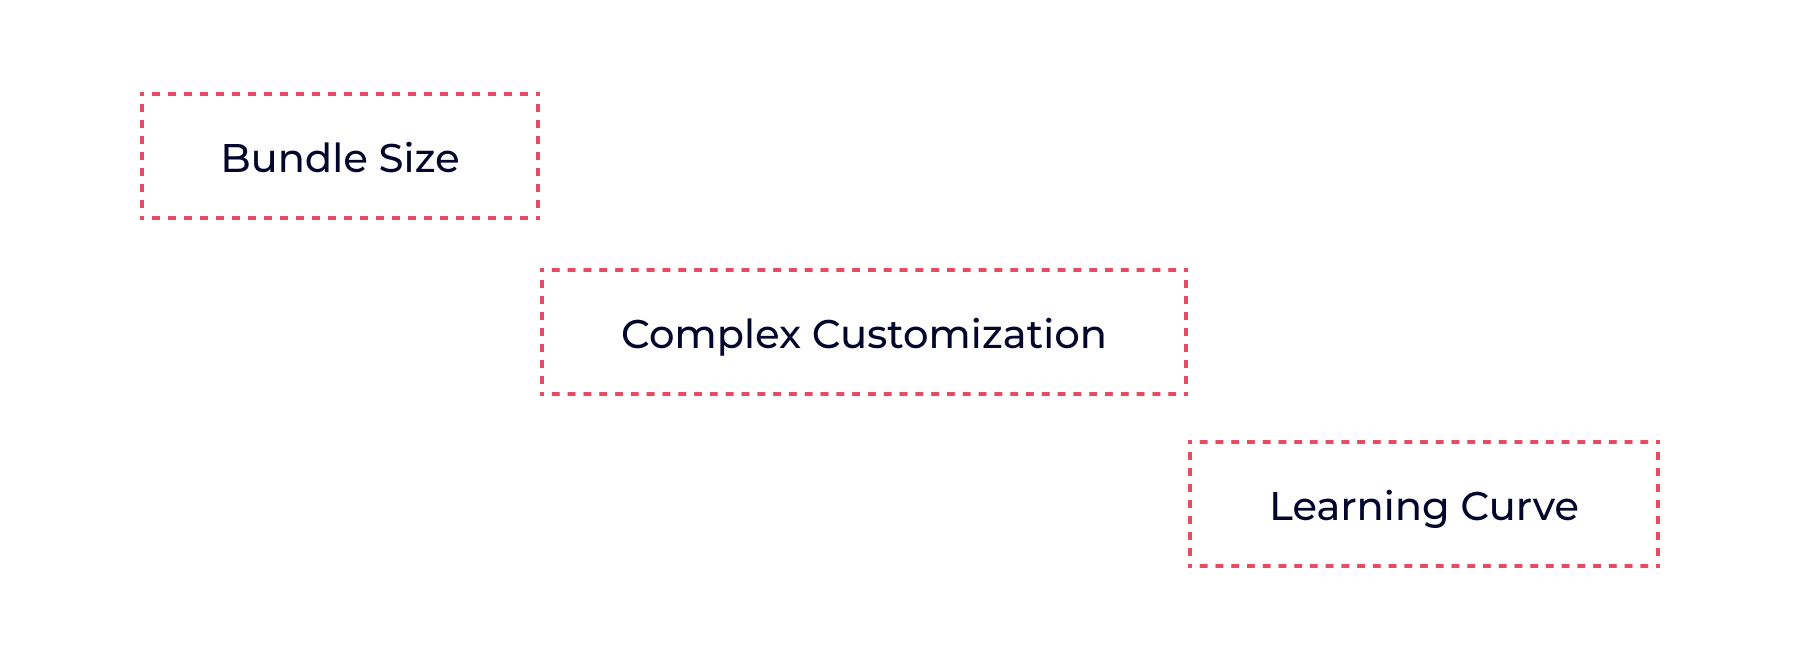
1. Bundle Size: Can add significant weight to your application if not managed carefully.
2. Complex Customization: May be challenging for those unfamiliar with its styling system.
3. Learning Curve: The extensive API might overwhelm new users.
Using Next.js with Ant Design (Antd)
You will be able to start building fast, modern web applications that look good and perform well by combining Next.js with Ant Design.
Due to its ability to provide a rich set of components along with server-side rendering capabilities and routing handled by Next.js, it should allow you to get involved more in features rather than boilerplate code.
Step 1: Set Up Your Next.js Project
Before we start, make sure you have Node.js installed on your computer. Next.js is super easy to set up! Open your terminal and run:
1
npx create-next-app antd-demoThis command will create a new Next.js project named antd-demo. Once it’s done, navigate into your project folder:
1
cd antd-demoNext, let’s fire up the development server:
1
npm run devNow, open your browser and go to http://localhost:3000/. If you see the Next.js logo, you have successfully install nextjs.
Step 2: Install Ant Design (Antd)
Now it's time to add Ant Design to your project. Run one of the below commands, depending on your package manager:
1
2
3
4
5
6
7
npm install antd --save
# or
yarn add antd
# or
pnpm add antd
# or
bun add antd
Step 3: Import Ant Design (Antd) Components
Next, let’s use an Ant Design component. Open src/app/page.tsx and modify it to look like this:
1
2
3
4
5
6
7
8
9
10
import React from 'react';
import { Button } from 'antd';

const Home = () => (
  <div className="App">
    <Button type="primary">Button</Button>
  </div>
);

export default Home;
If you refresh your page, you should see a lovely blue primary button!
Step 4: Handle Styles for Server-Side Rendering (SSR)
You might notice that the button doesn’t have styles on the first render. Let’s fix that by extracting and injecting Ant Design's styles into your HTML.
If you're using the App Router in Next.js, install the Ant Design registry:
1
npm install @ant-design/nextjs-registry --saveThen, modify your app/layout.tsx file to include the AntdRegistry:
1
2
3
4
5
6
7
8
9
10
11
12
import React from 'react';
import { AntdRegistry } from '@ant-design/nextjs-registry';

const RootLayout = ({ children }) => (
  <html lang="en">
    <body>
      <AntdRegistry>{children}</AntdRegistry>
    </body>
  </html>
);

export default RootLayout;
If you're using the Page Router, install the CSS-in-JS package:
1
npm install @ant-design/cssinjs --saveThen, update your pages/_document.tsx file:
1
2
3
4
5
6
7
8
9
10
11
12
13
14
15
16
17
18
19
20
21
22
23
24
25
26
27
28
29
30
31
32
33
34
35
36
37
38
39
40
import React from 'react';
import { createCache, extractStyle, StyleProvider } from '@ant-design/cssinjs';
import Document, { Head, Html, Main, NextScript } from 'next/document';

const MyDocument = () => (
  <Html lang="en">
    <Head />
    <body>
      <Main />
      <NextScript />
    </body>
  </Html>
);

MyDocument.getInitialProps = async (ctx) => {
  const cache = createCache();
  const originalRenderPage = ctx.renderPage;
  ctx.renderPage = () =>
    originalRenderPage({
      enhanceApp: (App) => (props) => (
        <StyleProvider cache={cache}>
          <App {...props} />
        </StyleProvider>
      ),
    });

  const initialProps = await Document.getInitialProps(ctx);
  const style = extractStyle(cache, true);
  return {
    ...initialProps,
    styles: (
      <>
        {initialProps.styles}
        <style dangerouslySetInnerHTML={{ __html: style }} />
      </>
    ),
  };
};

export default MyDocument;
Step 5: Customize Your Theme
If you want to give your app a personal touch create a new file theme/themeConfig.ts:
1
2
3
4
5
6
7
8
9
10
import type { ThemeConfig } from 'antd';

const theme: ThemeConfig = {
  token: {
    fontSize: 16,
    colorPrimary: '#52c41a',
  },
};

export default theme;
After this, update pages/_app.tsx to use the custom theme:
1
2
3
4
5
6
7
8
9
10
11
12
13
import React from 'react';
import { ConfigProvider } from 'antd';
import type { AppProps } from 'next/app';

import theme from './theme/themeConfig';

const App = ({ Component, pageProps }: AppProps) => (
  <ConfigProvider theme={theme}>
    <Component {...pageProps} />
  </ConfigProvider>
);

export default App;
Step 6: Using Ant Design Components
Now, you can willingly use any Ant Design components in your page components.
Here’s an example of the Home component:
1
2
3
4
5
6
7
8
9
10
import React from 'react';
import { Button } from 'antd';

const Home = () => (
  <div className="App">
    <Button type="primary">Button</Button>
  </div>
);

export default Home;
Creating a Custom Theme in Next.js with Ant Design (Antd)
If you're looking to customize the look and feel of your Next.js app using Ant Design, you've landed in the right place.
In this blog, we’ll explore how to create a custom theme with Ant Design in a Next.js application that uses the App Router. Let’s jump into it!
Create a new directory called theme in your project root, and inside it, create a file named themeConfig.ts:
1
2
mkdir theme
touch theme/themeConfig.ts
Then, open theme/themeConfig.ts and add your custom theme settings,
1
2
3
4
5
6
7
8
9
10
import type { ThemeConfig } from 'antd';

const theme: ThemeConfig = {
  token: {
    fontSize: 16,
    colorPrimary: '#52c41a', // Customize your primary color here
  },
};

export default theme;
Now, first we need to ensure that our custom theme is applied in the app or not. So, open the app/layout.tsx file (you need to create it if it doesn't exist) and import the ConfigProvider from Ant Design along with your custom theme,
1
2
3
4
5
6
7
8
9
10
11
12
13
14
15
import React from 'react';
import { ConfigProvider } from 'antd';
import theme from '../theme/themeConfig';

const RootLayout = ({ children }: { children: React.ReactNode }) => (
  <html lang="en">
    <body>
      <ConfigProvider theme={theme}>
        {children}
      </ConfigProvider>
    </body>
  </html>
);

export default RootLayout;
So now your custom theme is ready, so let’s create a simple component to test it out. Open app/page.tsx and add the following code,
1
2
3
4
5
6
7
8
9
10
11
import React from 'react';
import { Button } from 'antd';

const Home = () => (
  <div style={{ padding: '20px' }}>
    <h1>Welcome to My Themed Next.js App!</h1>
    <Button type="primary">Click Me!</Button>
  </div>
);

export default Home;
So now, let’s see how everything looks! First of all make sure your development server is running. If it isn’t, you can start it with,
1
npm run devNow, go to http://localhost:3000/ in your browser. You should see your welcome message along with a beautifully styled button using your custom theme!
FAQ's
Is next.js suitable for every project?
Yeah, generally speaking, next.js is very versatile and can be applied to more or less any project-from a simple static website to a complex web application in need of server side rendering.
Is using Ant Design mandatory when using React?
The design system, in general, can only be used with one framework, and in the case of Ant Design, this is the React ecosystem. However, alternative options are available for other frameworks, for example, Ant Design for Vue.
How do I make my Next.js and Ant Design app faster?
Code splitting- take care of the size of your bundles by importing just what you need. In addition to that, make good use of image optimization features available on Next.js as well.
How do I customize the Ant Design components if I need it a bit?
Well, there's less variation, and it can be customized by theme. Advanced customization needs might be fulfilled if you dig up the documentation or use CSS overrides.
Do I need to use something else besides Ant Design?
Other such options include Material-UI, Bootstrap, Tailwind CSS, and so on, where each of them has unique features and design philosophies.
Conclusion
Next.js integration with Ant Design is a pretty powerful combination in building modern, scalable, and also very visually appealing web applications. Rich sets of components in Ant Design and the flexibility in rendering, creating API routes, and static generation offered by Next.js bring you high-performance applications and an exceptional experience to the users. Well, be it a small project or a more complex platform; this blog shows you how to get Ant Design up and running, customize its theme, and benefit from its features in the Next.js environment. You are now ready to create seamless and polished interfaces that truly stand out!