
How to add Adobe Fonts in Next.js ?
Adobe Fonts, formerly a Typekit, offers a wide range of high-quality fonts that can give your Next.js website a professional and unique look.
Unlike the Google Fonts, which can be self-hosted via next/font/google, Adobe Fonts requires a slightly different approach. Let's see what that is…
This blog will cover below important points,
- How to get Adobe Fonts API link ?
- What is best way to integrate Adobe Fonts in Next.js ?
- How to use local hosting for better performance Optimizing Adobe Fonts for better Core Web Vitals ?
Let’s get started!
Install Adobe Fonts
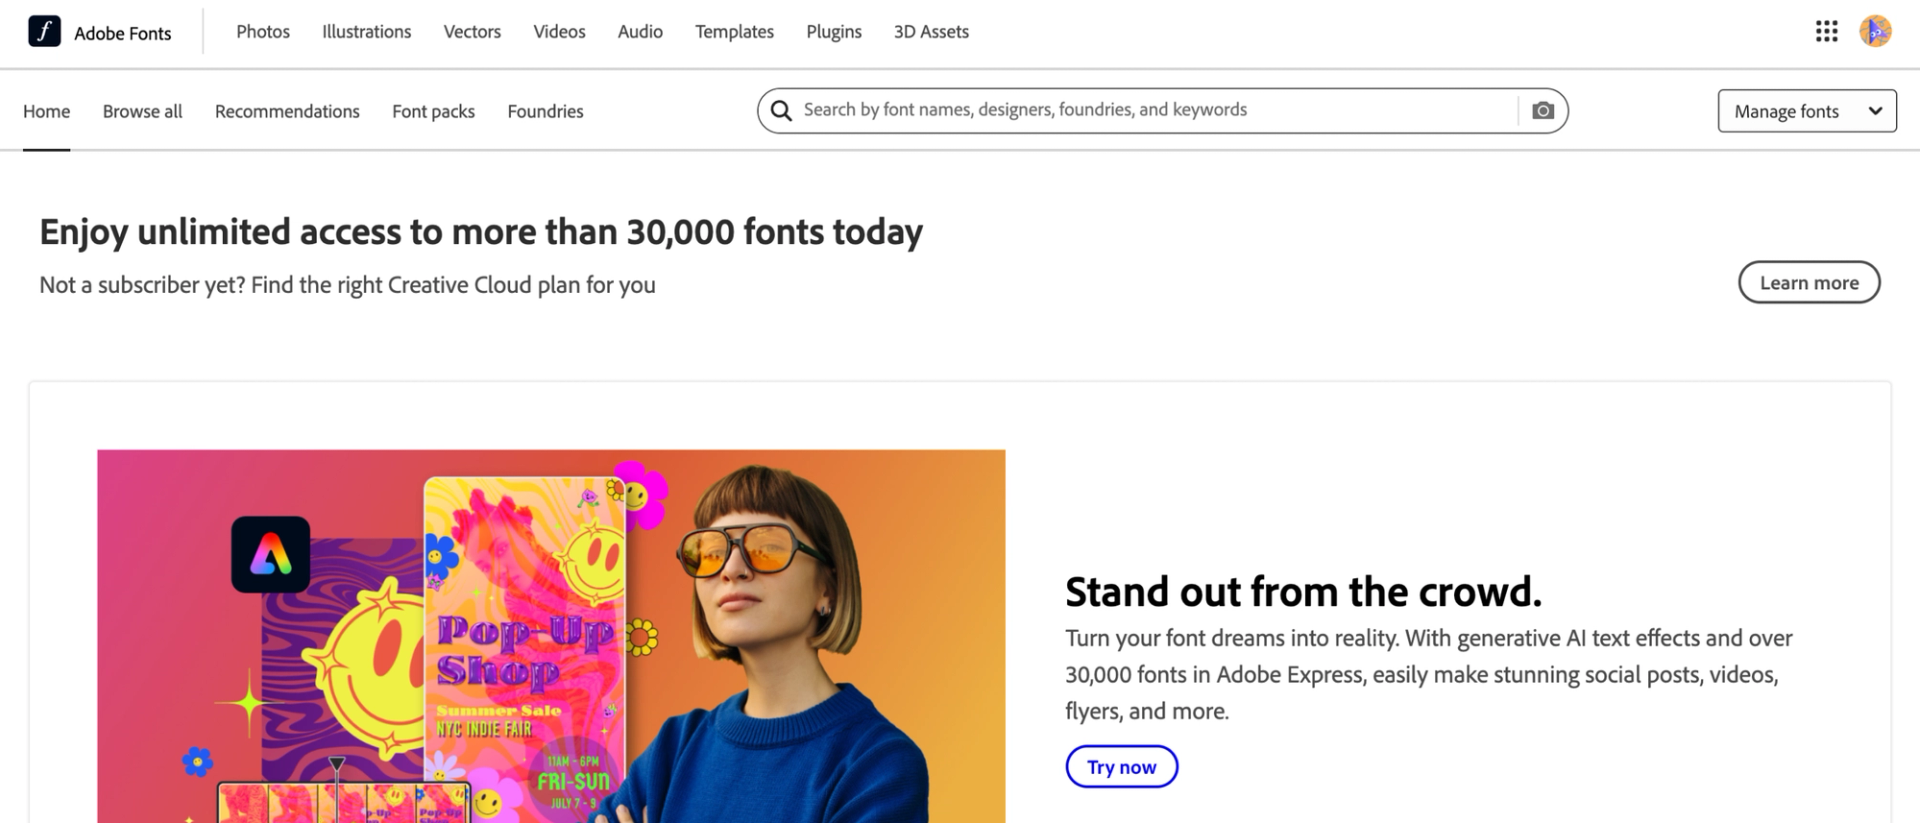
1. Sign Up for Adobe Fonts
Before you begin, you’ll need an Adobe account. If you don’t have one yet, just sign up on Adobe Fonts.
2. Pick Your Fonts
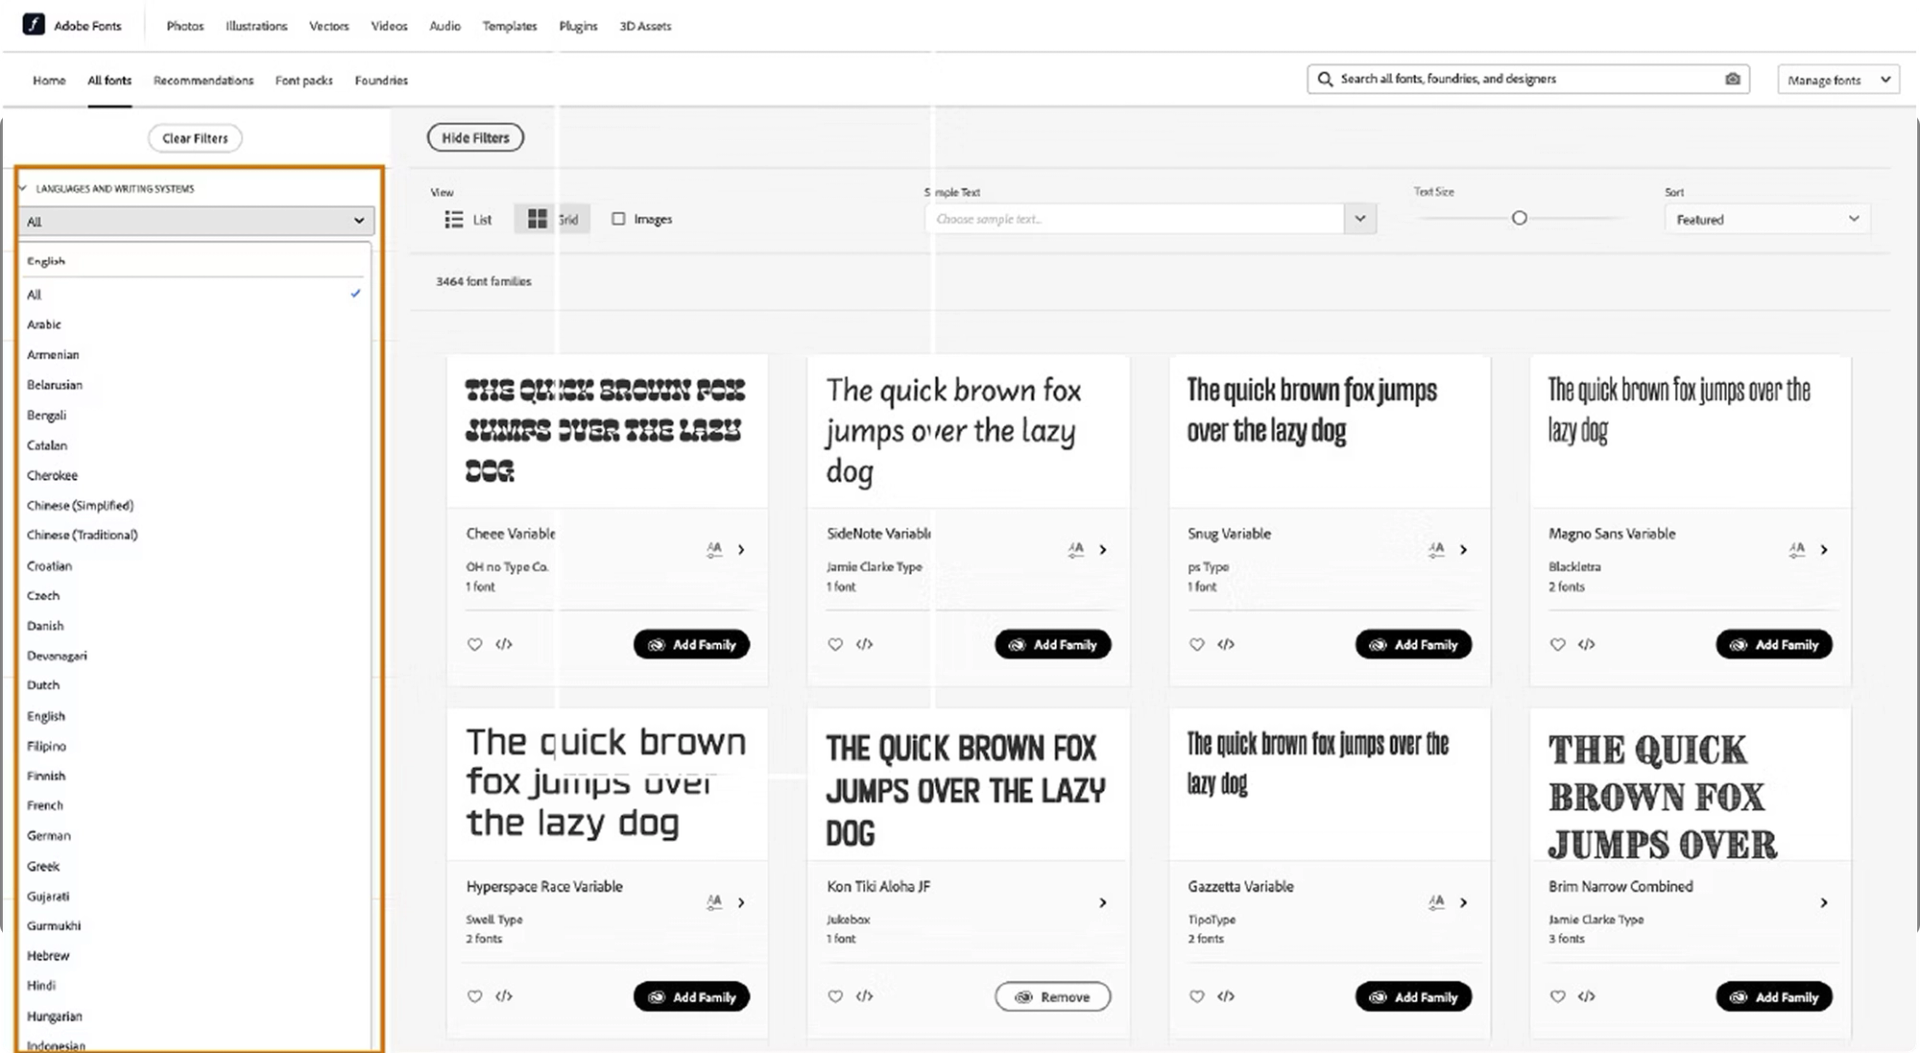
Browse through the font library and pick the ones you love and perfect for your website. There's a huge selection, so you're sure to find something perfect for your site.
Once you've found a font you want to use, click on it and then hit Add to Web Project.
3. Create a Web Project
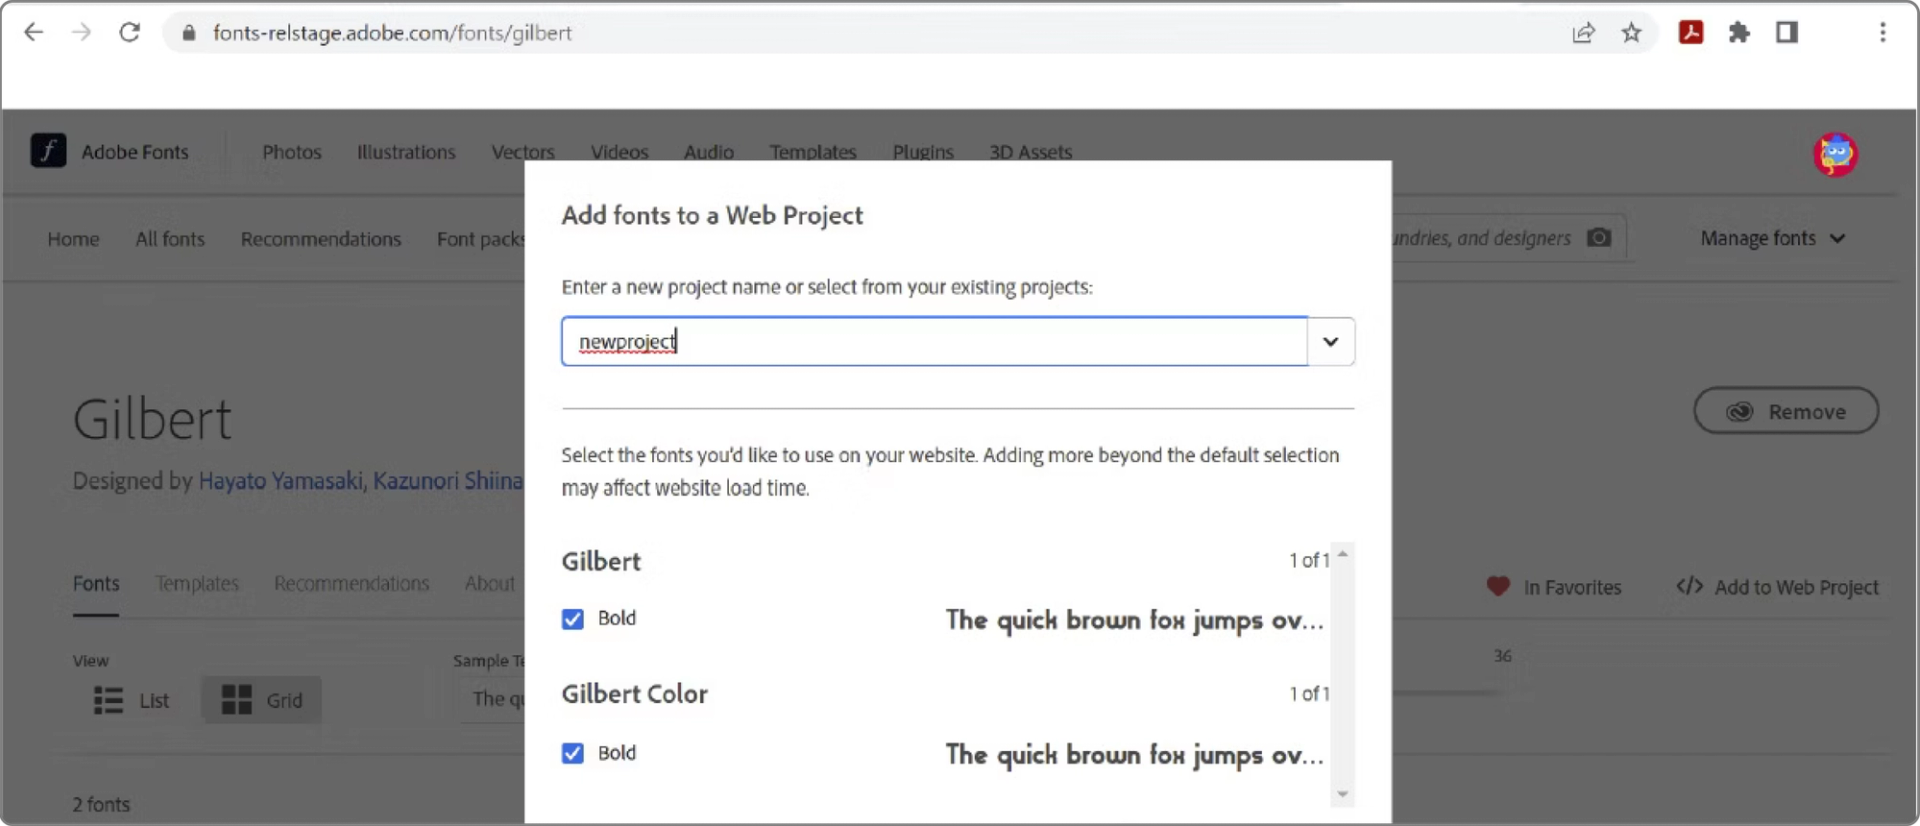
When you add a font to your project, Adobe will ask you to create a Web Project.
Just give your project a name (something like “My Awesome Website Fonts” or something you like), and pick the font styles you want (like bold or italic). This helps you only load the ones you need, making your site faster.
4. Copy the Embed Code
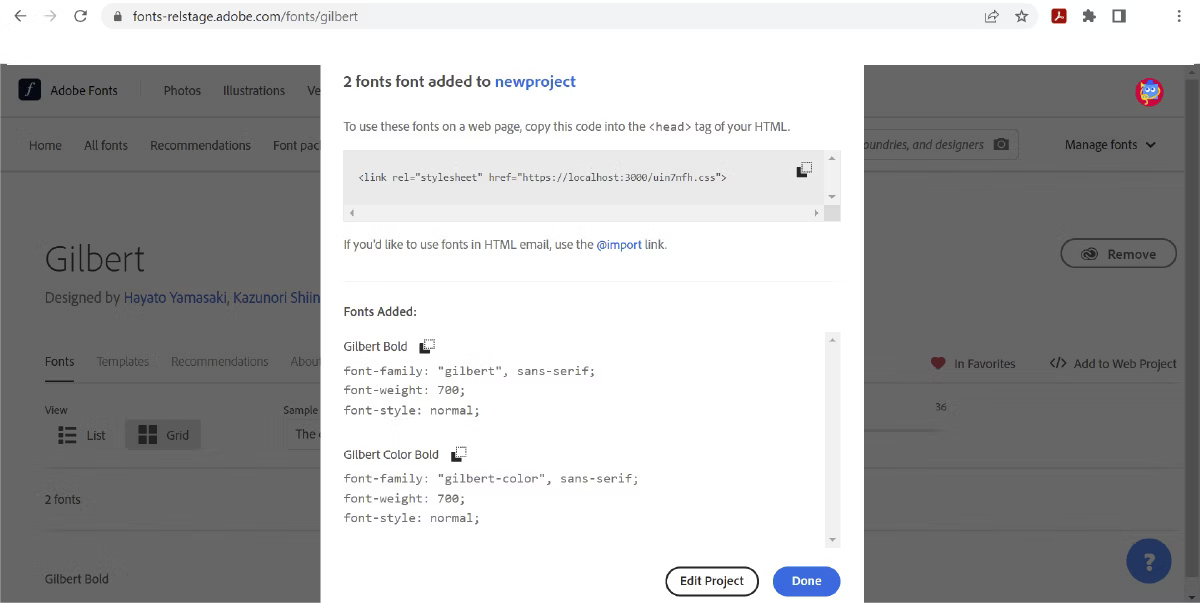
Once your project is ready, Adobe will generate a special embed code for you.
Please Copy the code — it’s a simple <link> tag that you’ll use in your website’s HTML.
5. Add the Code to Your Website
Open your website’s HTML file.
Paste the embed code into the <head> section of your page, like this:
1
<link rel="stylesheet" href="https://use.typekit.net/abc123.css">This links your website to the fonts you just picked.
6. Use the Fonts in Your CSS
Now that the fonts are connected to your website, it’s time to apply them! In your CSS file, you can use the font like this:
1
2
3
body {
    font-family: "Your Chosen Font", sans-serif;
}
Save your changes, refresh your website, and voilà! Your new fonts should be live on your site.
Lets see how this magic works on next.js as well.
Add Adobe Fonts in Next.js
Method 1: Using <link> in _document.js which is Recommended for SEO & Performance.
Since Next.js optimizes font loading, adding Adobe Fonts to _document.js ensures styles are applied efficiently.
=> Open pages/_document.js and add the Adobe Fonts link inside <Head>
1
2
3
4
5
6
7
8
9
10
11
12
13
14
15
import { Html, Head, Main, NextScript } from "next/document";

export default function Document() {
  return (
    <Html>
      <Head>
        <link rel="stylesheet" href="https://use.typekit.net/your-project-id.css" />
      </Head>
      <body>
        <Main />
        <NextScript />
      </body>
    </Html>
  );
}
This method loads fonts early and ensures no layout shift (CLS). and Fonts will be cached, improving performance.
Method 2: Adding Adobe Fonts in _app.js or a Global CSS File
Alternatively, you can import the Adobe Fonts CSS in _app.js or your global styles file.
Option A: Import in _app.js
1
2
3
4
5
import "../styles/globals.css";

export default function App({ Component, pageProps }) {
  return <Component {...pageProps} />;
}
Then, add the Adobe Fonts import inside globals.css:
1
2
3
4
5
@import url("https://use.typekit.net/your-project-id.css");

body {
  font-family: "your-font-name", sans-serif;
}
Option B: Load Fonts Dynamically in a Component
If you want to load fonts only when a specific component is used, you can do:
1
2
3
4
5
6
7
8
9
10
11
12
import { useEffect } from "react";

export default function MyComponent() {
  useEffect(() => {
    const link = document.createElement("link");
    link.href = "https://use.typekit.net/your-project-id.css";
    link.rel = "stylesheet";
    document.head.appendChild(link);
  }, []);

  return <p style={{ fontFamily: "your-font-name" }}>Hello, Adobe Fonts!</p>;
}
Use this method if you need fonts in specific pages only.
Using Adobe Fonts in CSS
Once the fonts are loaded, you can use them in CSS files or styled-components.
For CSS files:
1
2
3
h1 {
  font-family: "your-font-name", serif;
}
For Styled Components (If Using Emotion or Styled-Components):
1
2
3
4
5
6
7
8
9
import styled from "styled-components";

const Title = styled.h1`
  font-family: "your-font-name", serif;
`;

export default function Home() {
  return <Title>Hello with Adobe Fonts!</Title>;
}
Optimizing Adobe Fonts for Performance & SEO
To ensure fast loading and good Core Web Vitals, follow these tips:
✔ Preload Critical Fonts: If a font is used in the hero section, preload it by adding this inside _document.js:
1
2
3
4
<Head>
  <link rel="preload" href="https://use.typekit.net/your-project-id.css" as="style" />
  <link rel="stylesheet" href="https://use.typekit.net/your-project-id.css" />
</Head>
✔ Limit the Number of Fonts: Too many fonts increase load time. Try to use only necessary weights & styles.
✔ Use Font Display Options: Adobe Fonts does not provide font-display: swap by default, which can cause FOIT (Flash of Invisible Text). To fix this, use:
1
2
3
4
5
@font-face {
  font-family: "your-font-name";
  src: url("https://use.typekit.net/your-project-id.css");
  font-display: swap;
}
Alternative: Self-Hosting Adobe Fonts in Next.js
If you want even faster performance, you can self-host Adobe Fonts instead of loading them from Adobe's CDN.
Steps to Self-Host Adobe Fonts:
- Download the Font Files from Adobe Fonts (if allowed).
- Place Fonts in /public/fonts/ directory.
- Define a Font Face in Global CSS:
1
2
3
4
5
6
7
@font-face {
  font-family: "CustomAdobeFont";
  src: url("/fonts/custom-adobe-font.woff2") format("woff2"),
       url("/fonts/custom-adobe-font.woff") format("woff");
  font-weight: normal;
  font-style: normal;
}- Use the font anywhere:
1
2
3
body {
  font-family: "CustomAdobeFont", sans-serif;
}
Self-hosting improves performance because fonts are loaded from your own server.
Conclusion
In short summary, If you want simplicity & SEO-friendliness, use Method 1 (_document.js). and If you want maximum performance, consider self-hosting the fonts.
Using Adobe Fonts in Next.js can make your website look perfect, but it’s important to load them the right way to keep your site fast.
The best method is adding the font link inside _document.js, so fonts load quickly without shifting the page layout. For even better speed, you can download and host the fonts yourself, avoiding delays from Adobe’s servers. To keep things smooth, use only the fonts you need, preload important ones, and add font-display: swap to prevent blank text while fonts load. Whether using Adobe’s link or self-hosting, a smart setup will keep your site fast, stylish, and SEO-friendly.
So go and get your favourite adobe fonts for your website and make them load fast by next.js optimizations techniques now!